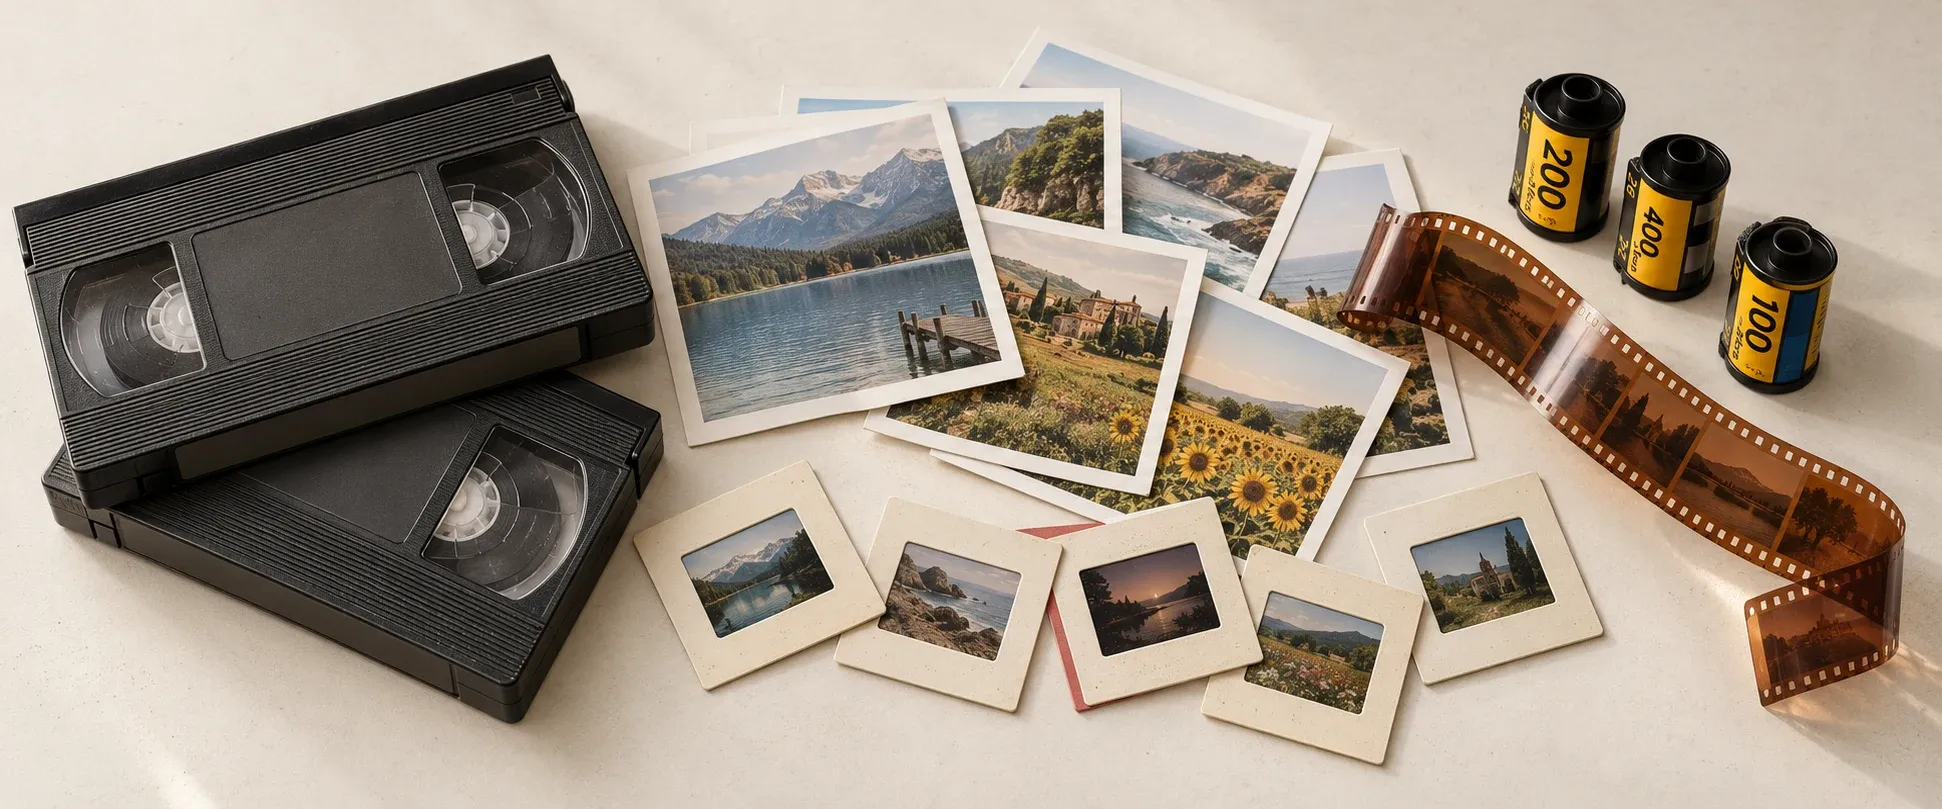
Digitising one’s photos can seem like a big endeavour, but potentially losing all one’s printed copies because they were never made into digital copies can be very frustrating. Therefore, in 2024 I decided to start on a digitisation journey.
The quick summary was essentially a combination of finding a local photo studio and having them handle special format stuff that I couldn’t do myself. And then a workshop literally called the “digitalisation workshop” which had access to printers and some other stuff to handle the hard copies.
Quick guide on digitising your photos
- Get an overview: First figure out what you want to get made digital.
- Research local options: Look into whether there are any local workshops, machines or similar that can help you. In general, people prefer to go somewhere physical instead of using mail. But depending on where you live, this can be a viable option.
- Start one thing at a time: You don’t have to do it all at once. Just pick a medium and how to handle it and then things will snowball from there.
This is in theory a fairly “duh, no shit Sherlock” type of guide. It really isn’t that difficult or complicated, but you might not think about doing it or spending time on it, which is the primary purpose of the guide/article.
The overview of my journey - what had to be handled for me
- Negatives
- Physical photos - printed
- Slides
- Film rolls - photos
- 2 VHS tapes
- Scattered digital photos
The first step, local photo guy - Film rolls and VHS
I started by focusing on some old negatives/film rolls we had lying around. They were of some unique and special format apparently, but I only found that out by having that explained to me by a professional. I luckily live near a quite competent and good photo shop that was able to help me out with my problems. They took care of these and it required a quite expensive machine to handle it or a bunch of manual labour by extracting the negatives and doing it manually. So I’m glad that problem worked out.
They were also able to help with a small selection of various negatives and they could also help with two random old VHS tapes we had lying around.
The whole process was a great success despite being a little expensive. The only exception here is I later found a place to handle the VHS manually, which would have saved me a pretty penny, but it was worth it just to get that other stuff handled so well.
The digitalisation workshop first visit - Manual photos
Researching online, I found this local shop called digitalisation workshop that could help me with some of the printed photos. They had various printers and it seemed like a much nicer experience than having to use some of the ones from the library.
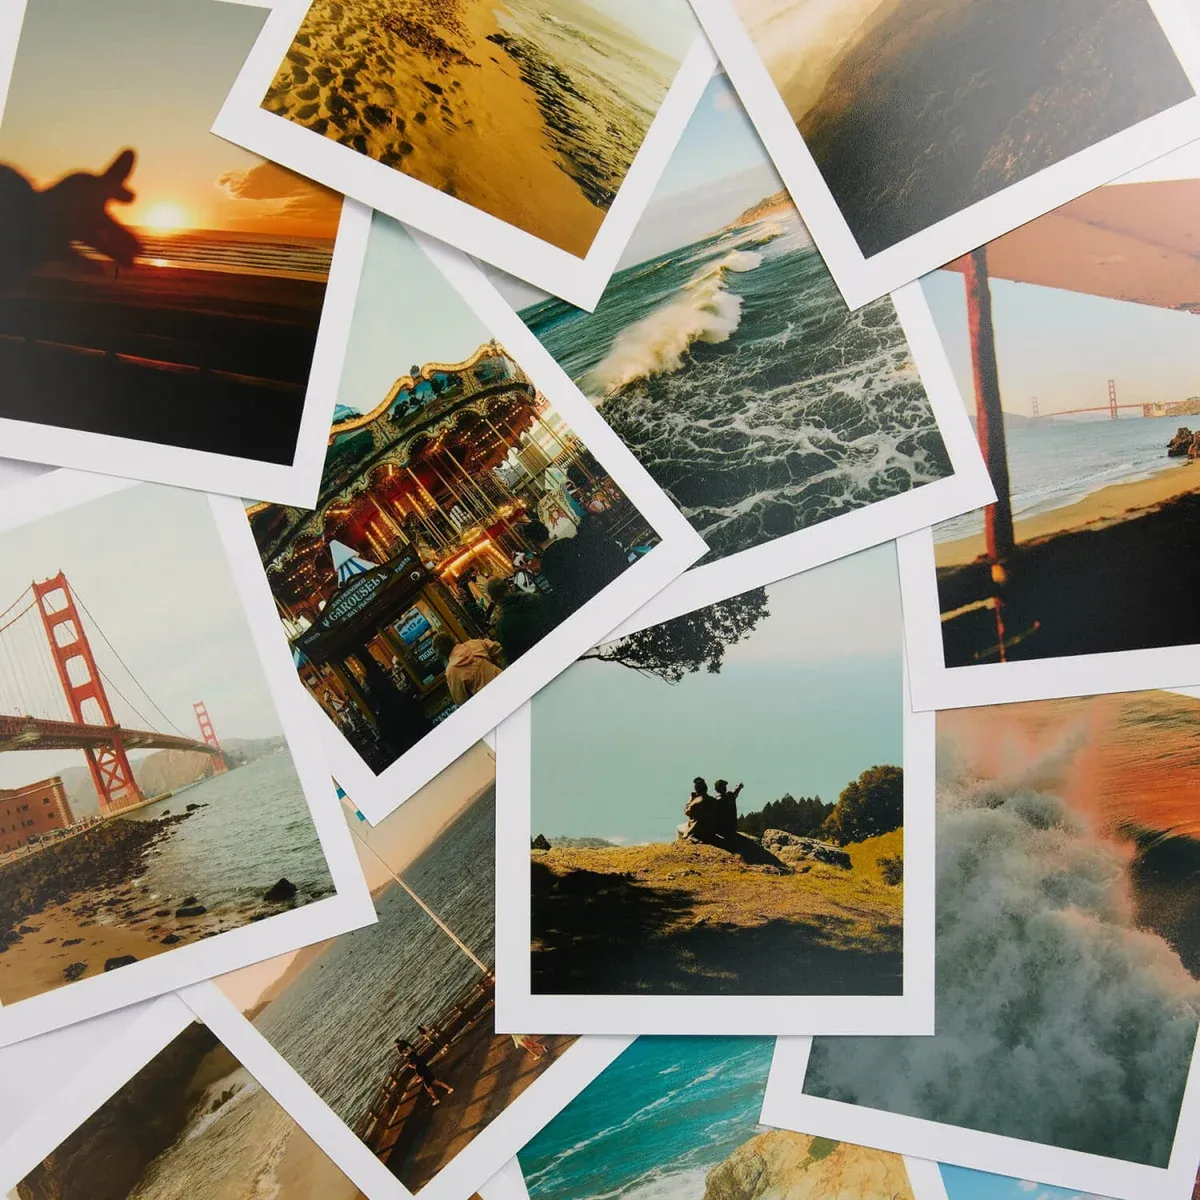
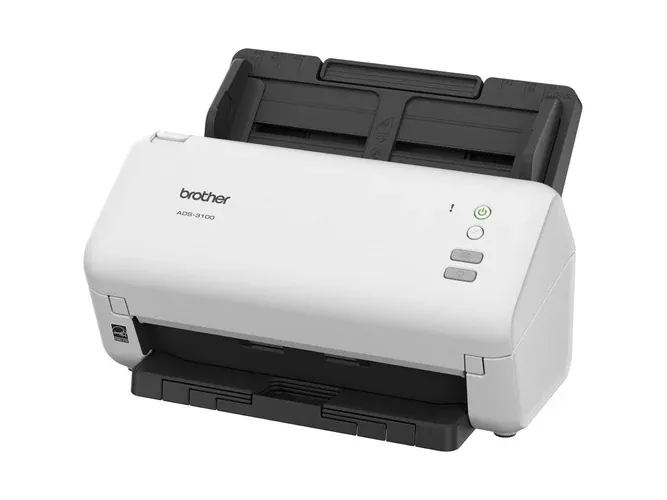
It was a long drive and I had to first take a small introductory class of 1.5-2 hours of hearing about the various machinery. It was fun and cool and then a week later I had scheduled a time slot, 3 hours, to get things handled. I went there with loads of physical images I had taken out of the photo albums and they had two types of scanners. No. 1 was a flatbed scanner and the second one I call the money counter scanner.
I went with the money counter like one that is kind of like a shredder or whatever else. It has the images in a stack angled vertically, and then it just loads them one at a time quite rapidly and quickly. The quality is not as good as with a flatbed scanner but the speed is much, much greater, and as it’s just for the nostalgia and memories, the quality is less of a concern. Another cool thing is that the printer also captures the back of the image, which you won’t get with the flatbed scanner.
It was an amazing experience, and later, when I showed all the photos to my family, they were super happy.
The digitalisation workshop second visit - slides
I knew my grandma had a ton of old slides lying around (small plastic squares with a piece of negative inside, the image). So the second step was to then get these made digital.
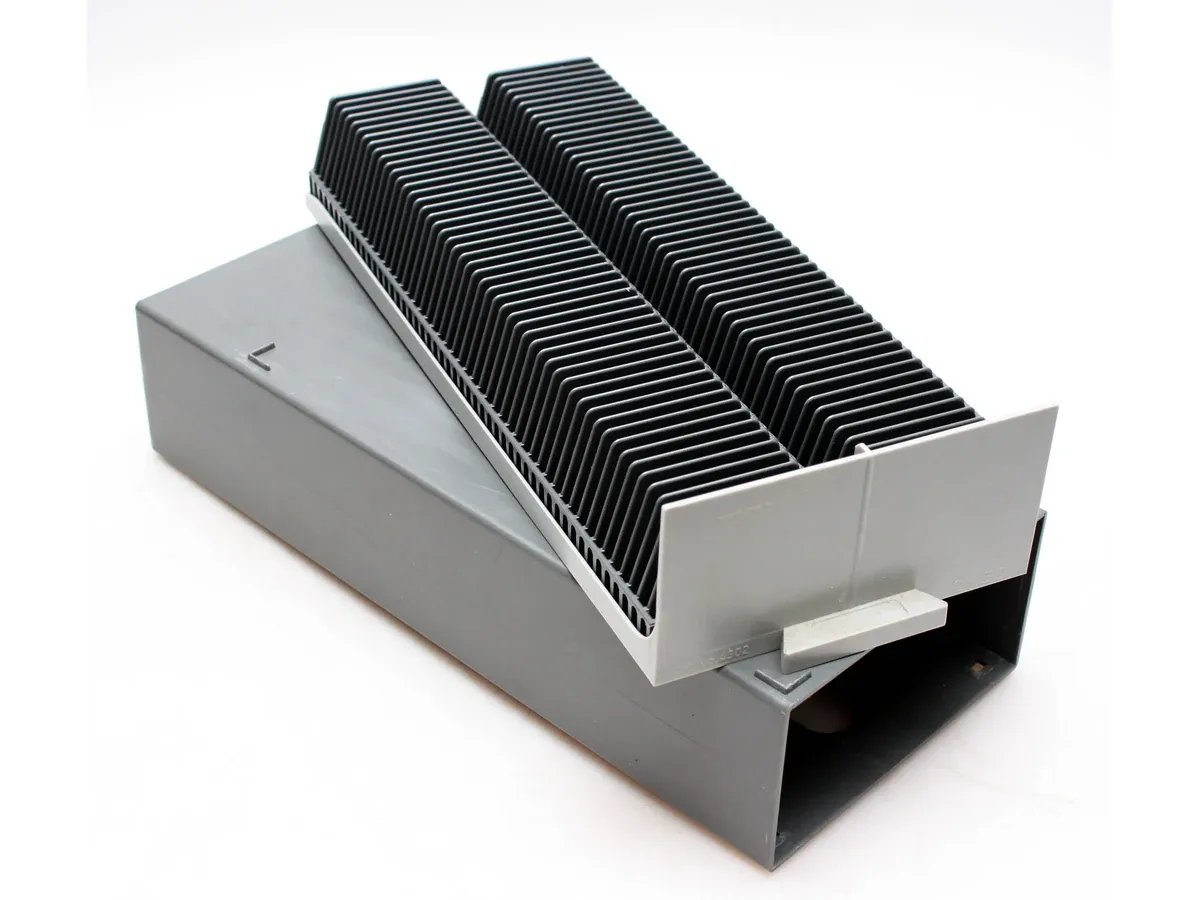
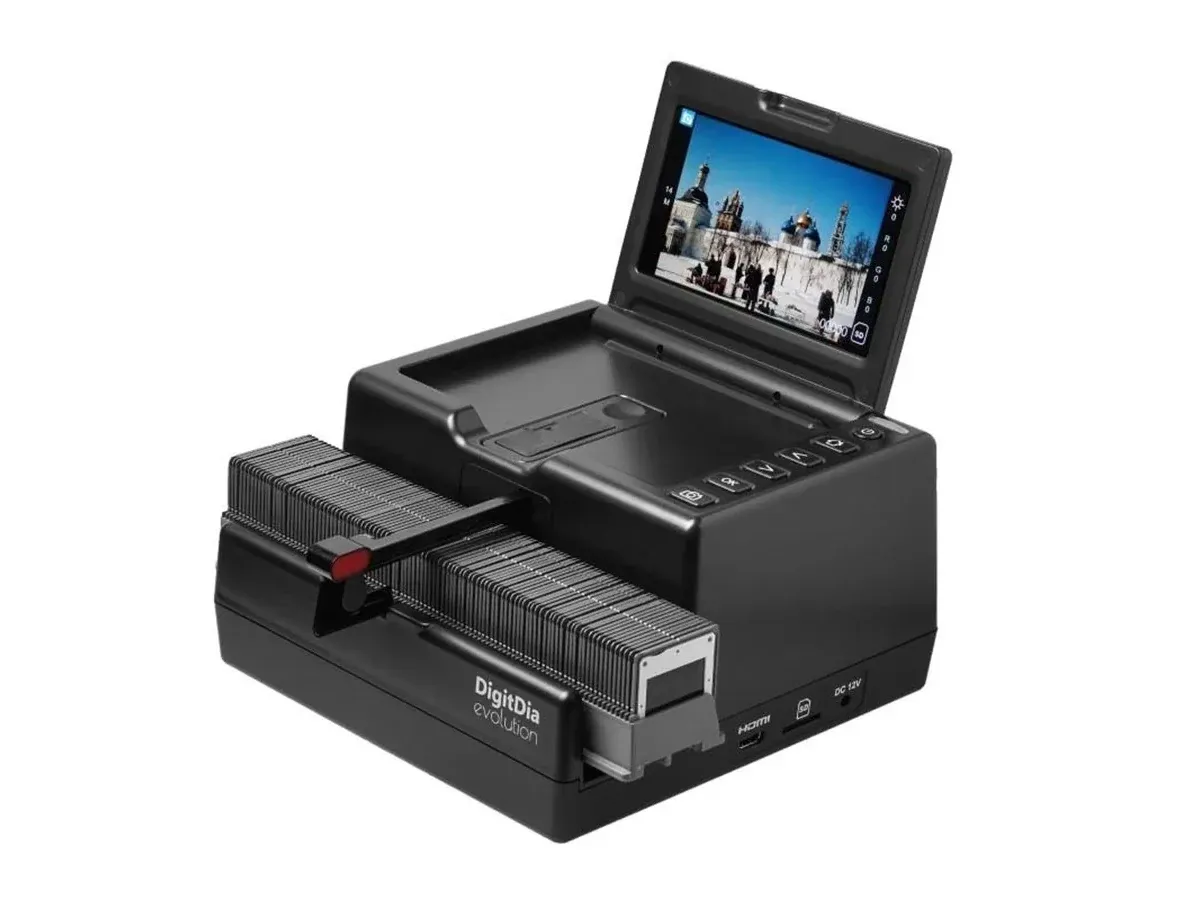
Another machine the shop had was a fast slide scanner. It’s possible to do this with flatbed scanners, but it’s a very tedious and manual process where one has to put each slide into a plastic frame with room for 12 slides. It then takes a long time to scan all the slides. Cumbersome, slow and irritating.
So luckily, like I teased, they had one that was faster, a fast slide scanner or “Reflecta Scanner”. You can put all the slides into a plastic frame so there are 40 in a row. It then works by having an arm extend out and grab the first photo and drag it inside, take the photo, put the slide back out and then automatically move forward to take the next one. It was super fast and efficient and we were able to get around 800 images handled within the three hours, which was quite incredible.
Conclusion
I can highly recommend getting all your photos made digital if you have the time and will to go through with it, and it’s not difficult. The primary lesson I learned is that being able to handle all these old and soon forgotten formats only gets tougher with time. Fewer and fewer people have tools and technologies to work with these, so it will also get more expensive the longer one waits.
A second positivity is that I’ve been marketing the work I’ve been doing and the workshop to friends and colleagues and I actually found one specific friend who put my story to good use. He got all his family’s old photos and brought them from out of town to that workshop and got them made digital. A collection probably more than twice the size of mine. I think it took him 2-3 visits to get it all sorted but it worked out in the end. So now his family has been able to get the same joy and peace of mind knowing the photos are taken care of.
That doesn’t mean you’re in the clear, however. You should still figure out how to do proper backups or similar. But hopefully, it’s easier to just buy a hard drive (should have better longevity than SSDs) and shove it there for starters. Or you can work on more intricate and sophisticated setups if you want.