Short on time? Jump to the takeaways ↓
Ever since I started playing online games, I’ve liked the idea of having my own server. Hosting game servers for friends sounded especially cool. Actually building one was another matter. There was always an excuse: a small bedroom, no room in the apartment, the cost, or simply not knowing where to start.
Eventually, in my mid-twenties, I decided that my skills and budget were as ready as they were going to get. Time to build the thing.
A small case, a big headache
A colleague had built a small home server the year before and was happy with it. His approach was fairly simple: a compact case and enough hardware to get going. That sounded sensible, so I tried something similar.
Finding the case took far longer than I expected. I wanted something small that would fit a MicroATX motherboard, give me some choice of CPU, and stay reasonably cheap. I wasn’t confident enough with more specialised hardware to go down the embedded-board route.
I eventually settled on the Jonsbo C6. It fit the brief on paper. In practice, I found it frustrating to work with. Everything was tightly packed, cable management was awkward, and getting a cooling setup I was happy to live next to turned out to be difficult. The mesh panels didn’t seem to help as much as I’d hoped.
Some friends came over, we assembled it, and everything was nice and dandy. Or at least, that was the plan.
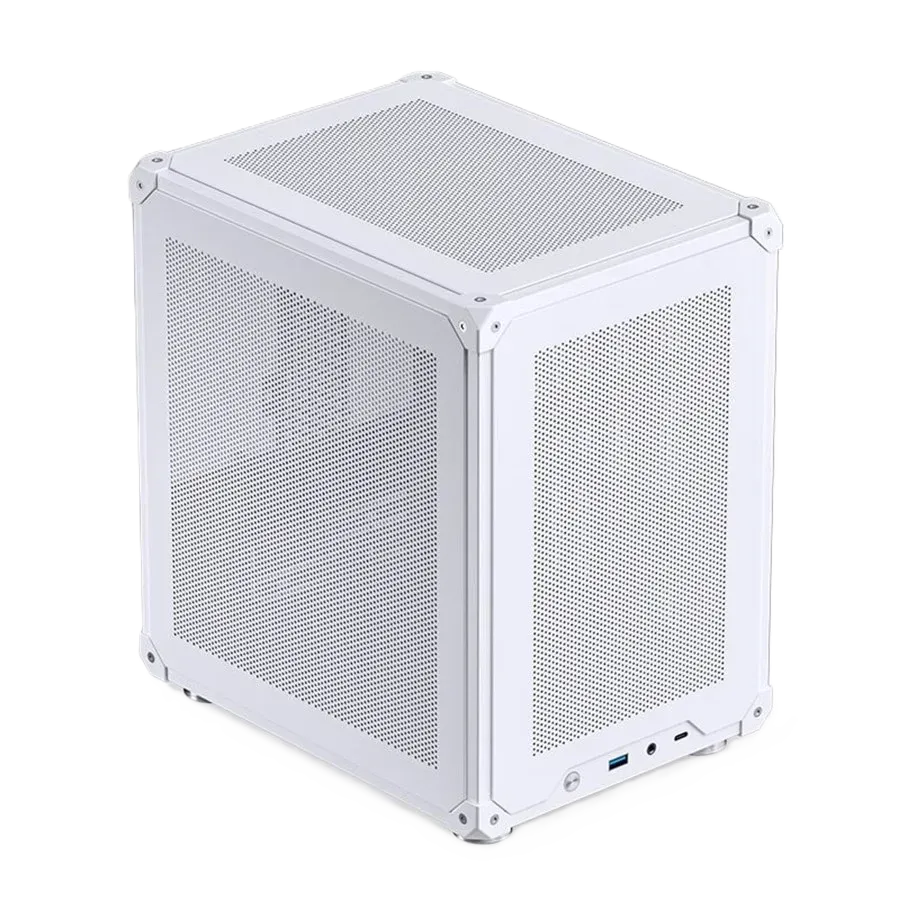
The parts I used across the build:
| Component | Details |
|---|---|
| CPU | AMD Ryzen 5 3600 |
| Motherboard | ASUS PRIME B450M-A II |
| RAM | Corsair Vengeance LPX DDR4-3200, 32 GB, CL16 |
| Storage | One 2 TB NVMe SSD and one 500 GB SATA SSD |
| PSU | Thermalright TG S 550W, 80+ Gold |
| Case | Jonsbo C6 |
| Case fans | Three Noctua NF-P12 redux-1700 PWM, 120 mm |
| Replacement CPU cooler | Thermalright AXP120-X67 |
| Thermal paste | Arctic MX-6 |
One year later: removing the dust
Instead of using my server, I left it sitting for almost a year.
The main obstacles were operating-system trouble and noise. I tried Proxmox, ran into installation problems, and got frustrated. Meanwhile, I couldn’t get the fans quiet enough despite trying different curves and settings in the BIOS. Eventually, school and other responsibilities took priority, and the server became a problem for future me.
After finishing my master’s degree, I decided to give it another go. This time I had a concrete plan:
- Sort out the fans and CPU cooler.
- Find a cabinet the server could live in without becoming annoying in the living room.
- Give the cabinet enough ventilation.
- Get the operating system working.
Figuring out the fans
I bought new case fans, thinking the ones I already had weren’t suitable. Later, I discovered that the original fans were actually better than the replacements. A lovely little surprise after spending the money.
Fortunately, I also bought a new CPU cooler. I’d initially used the stock cooler that came with the CPU, but I wasn’t happy with the cooling and noise. Replacing it with a Thermalright AXP120-X67 was much more useful than my case-fan shopping adventure.
That meant pulling apart the tightly packed PC and putting it back together again. At least this time there was a reason.
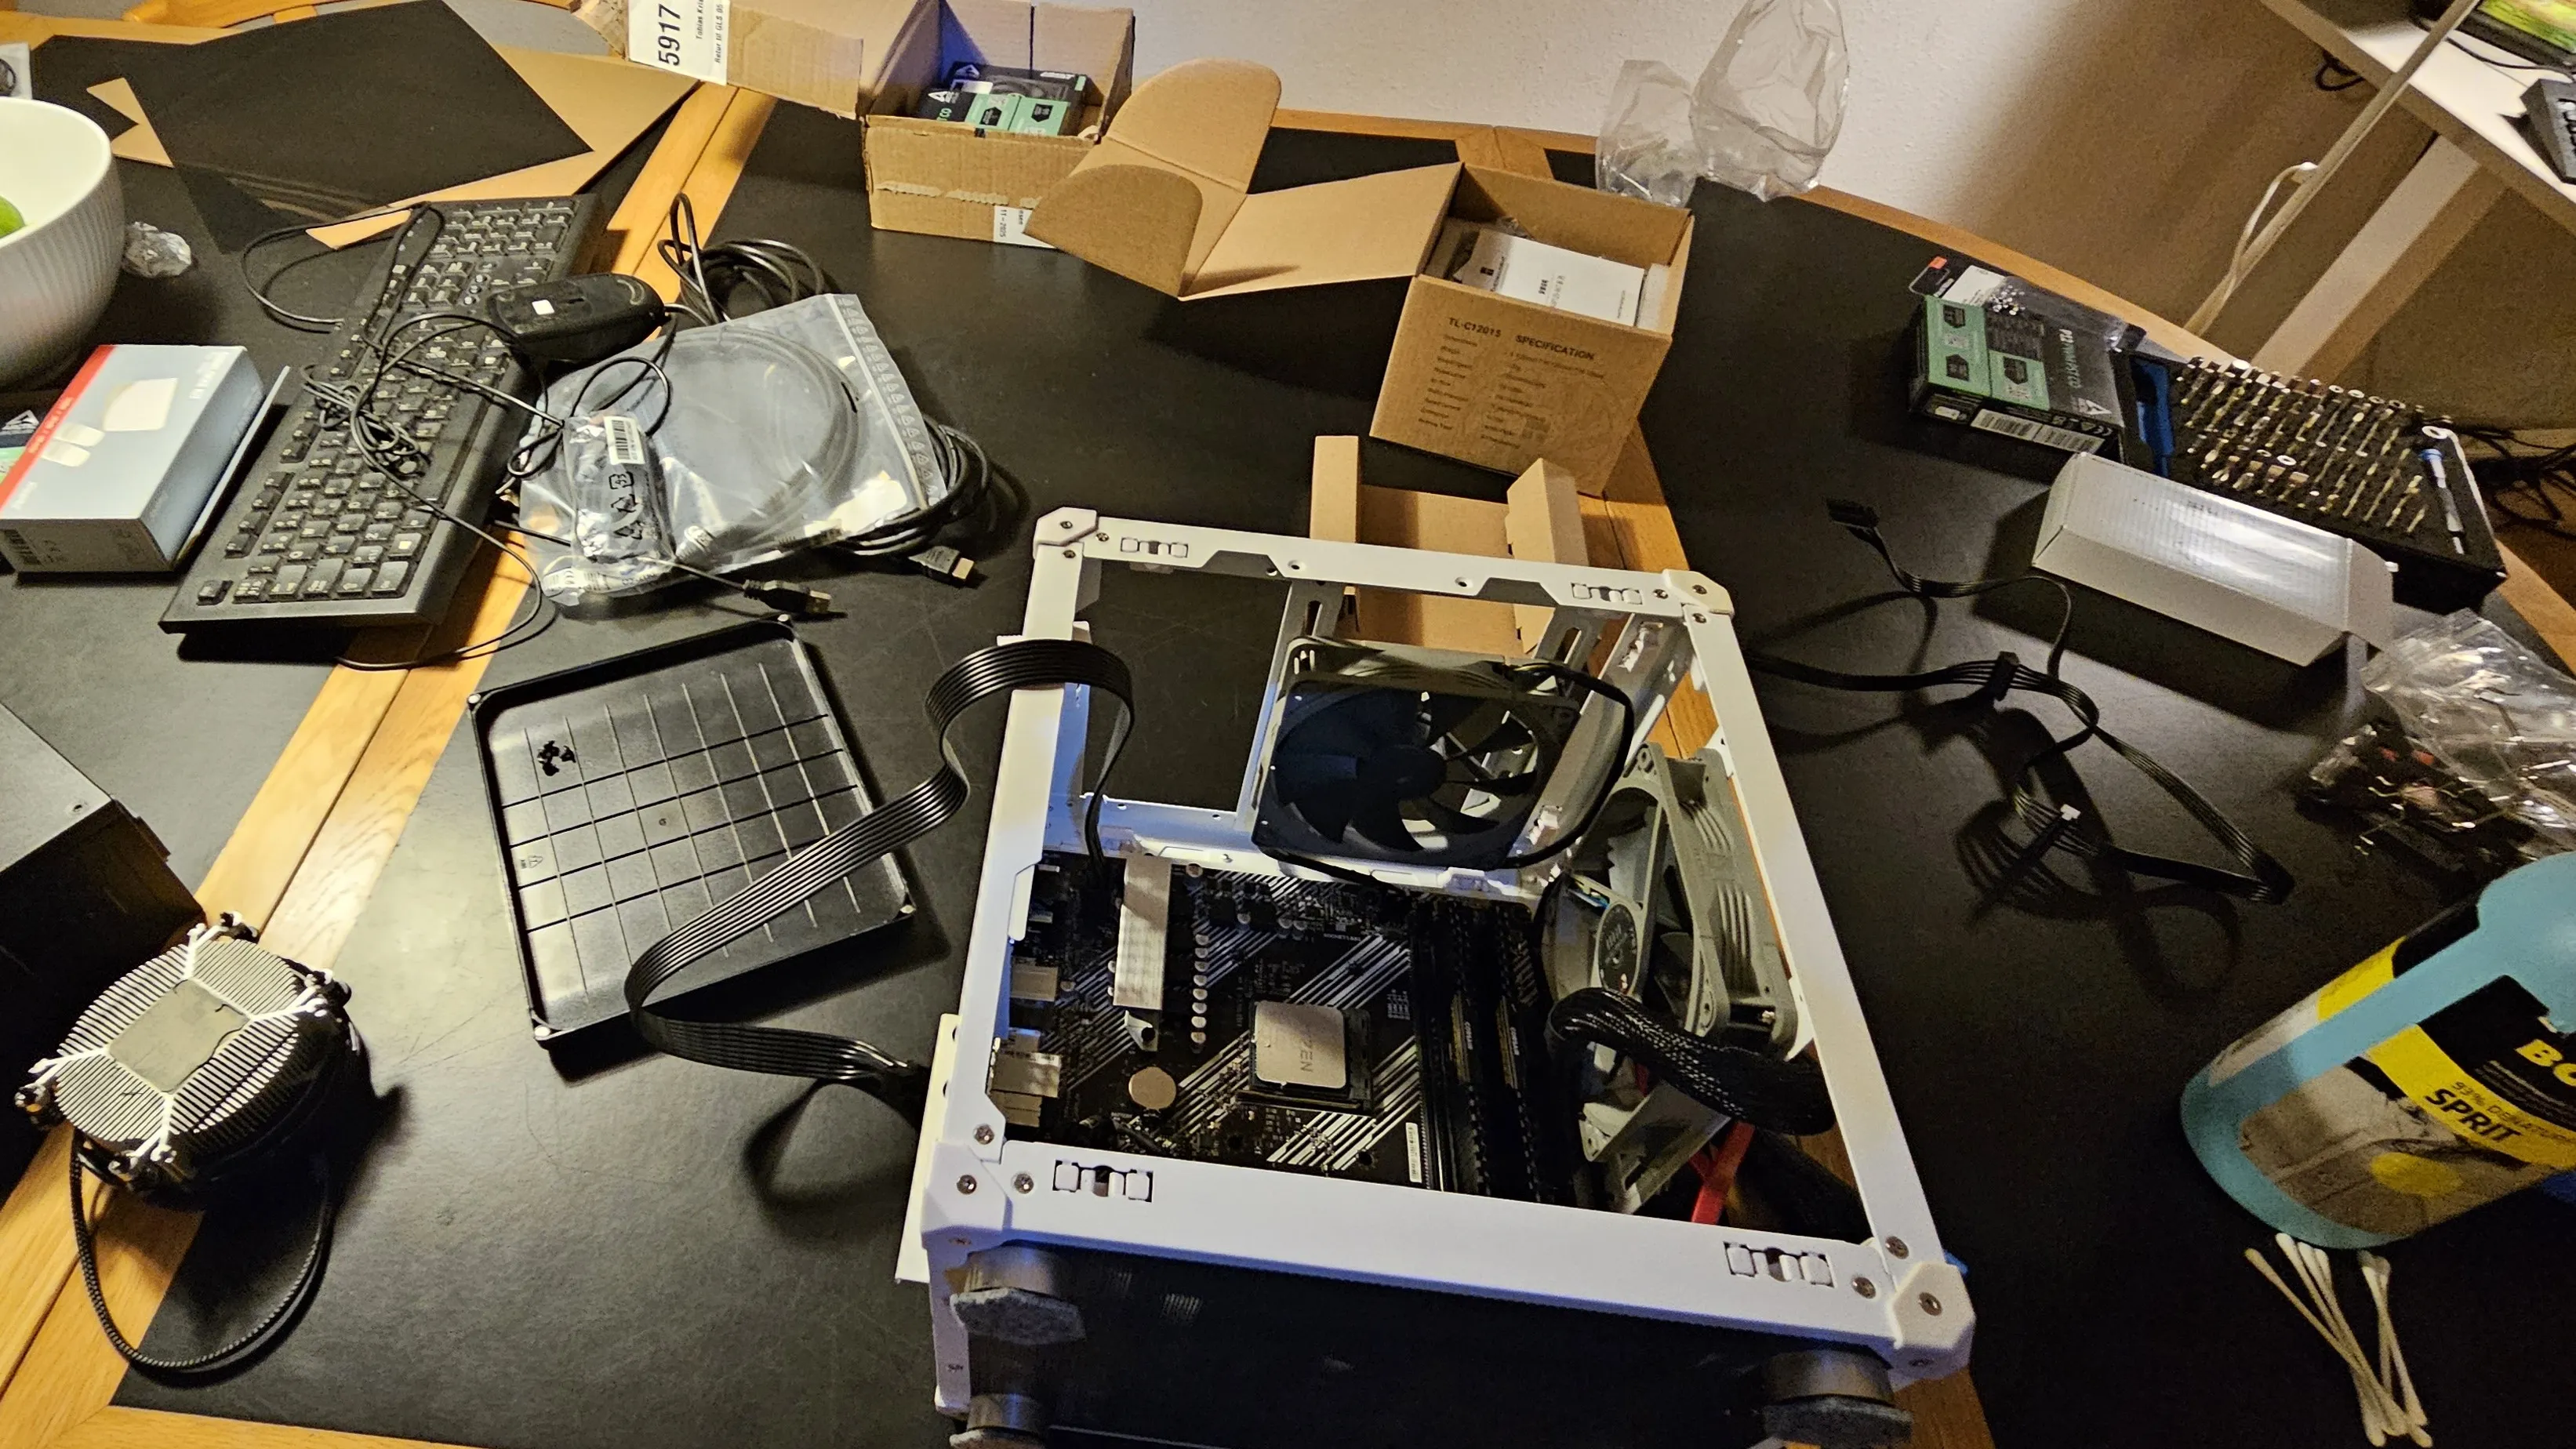
Figuring out the cabinet
I wanted the server in the living room, but I didn’t want to hear it all the time or spend a fortune hiding it. I ended up buying an IKEA BESTÅ cabinet after a lot of measuring and double-checking dimensions.
Naturally, after all that checking, I forgot the feet and had to order them separately.
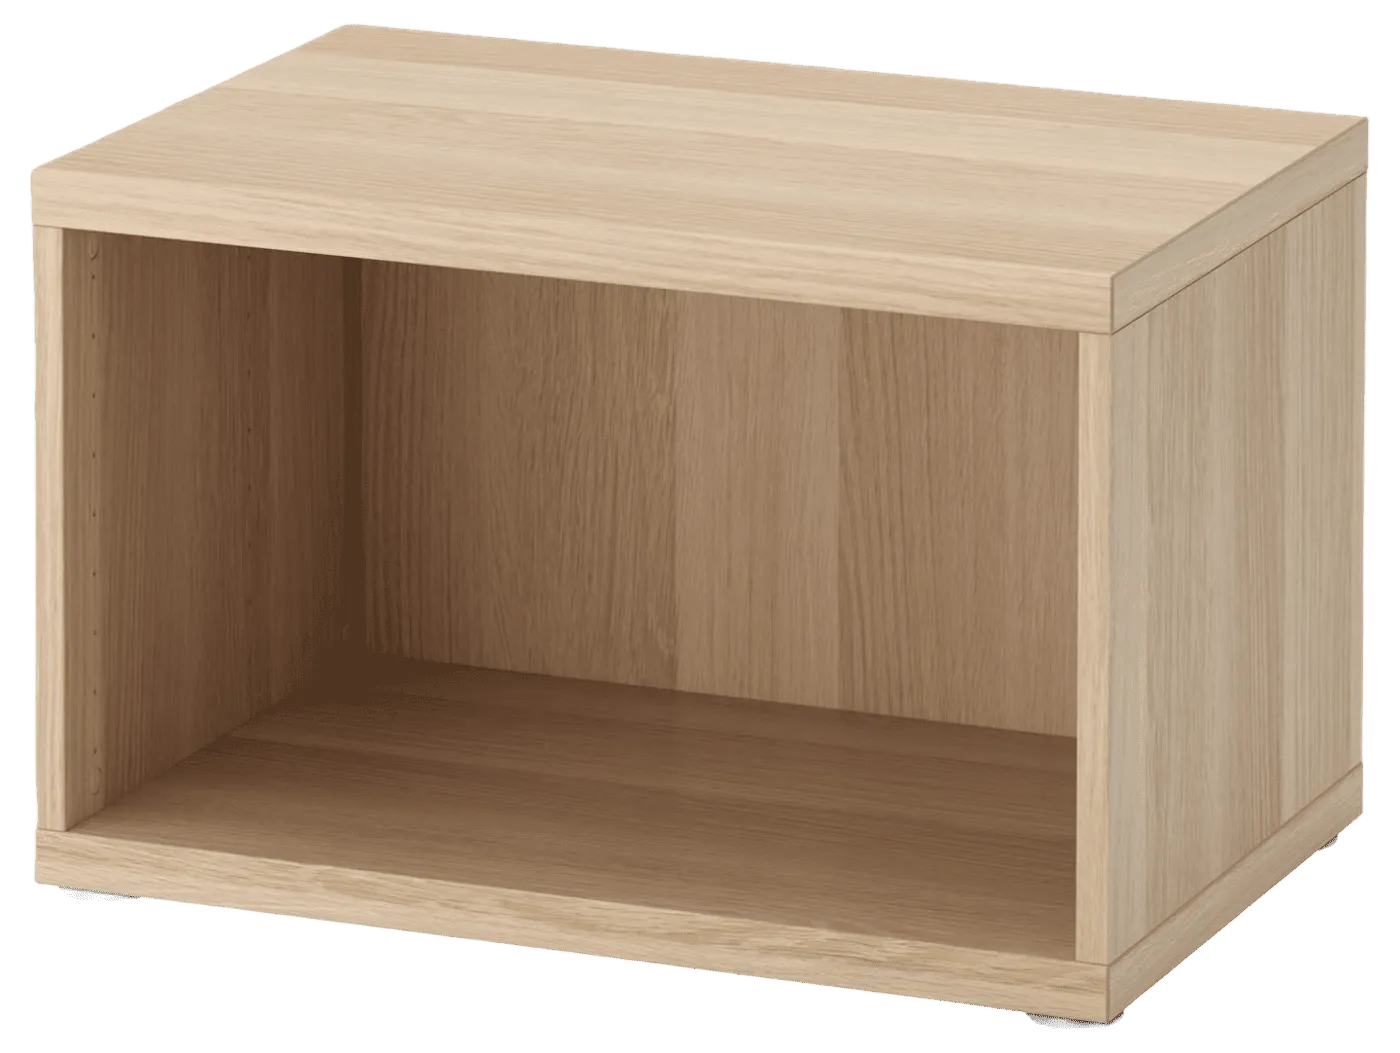
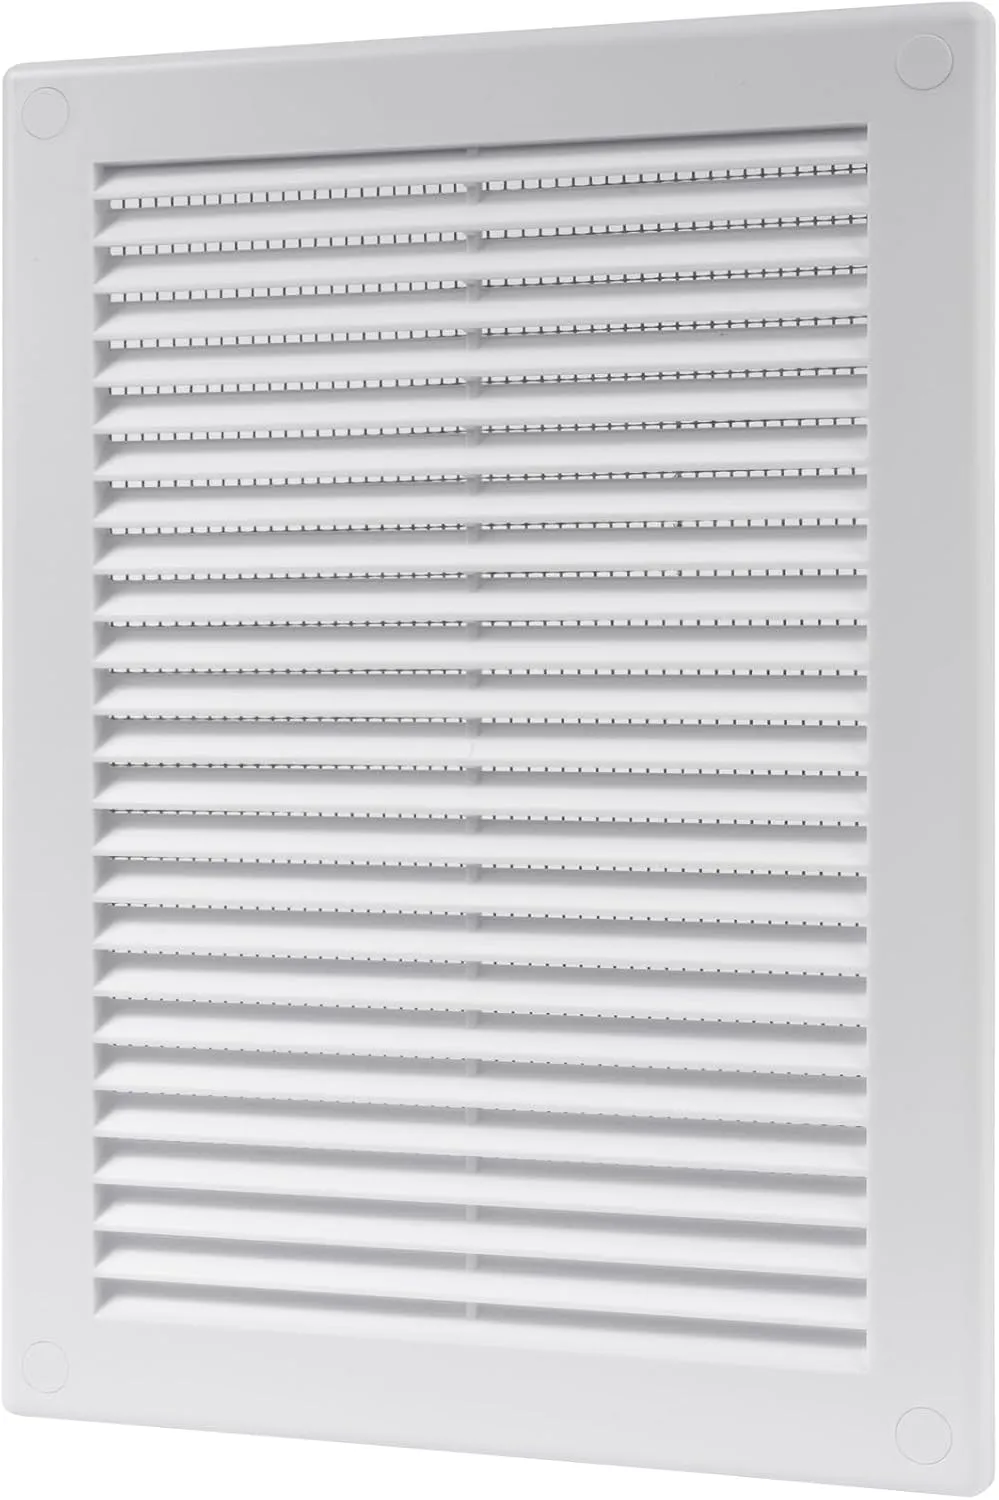
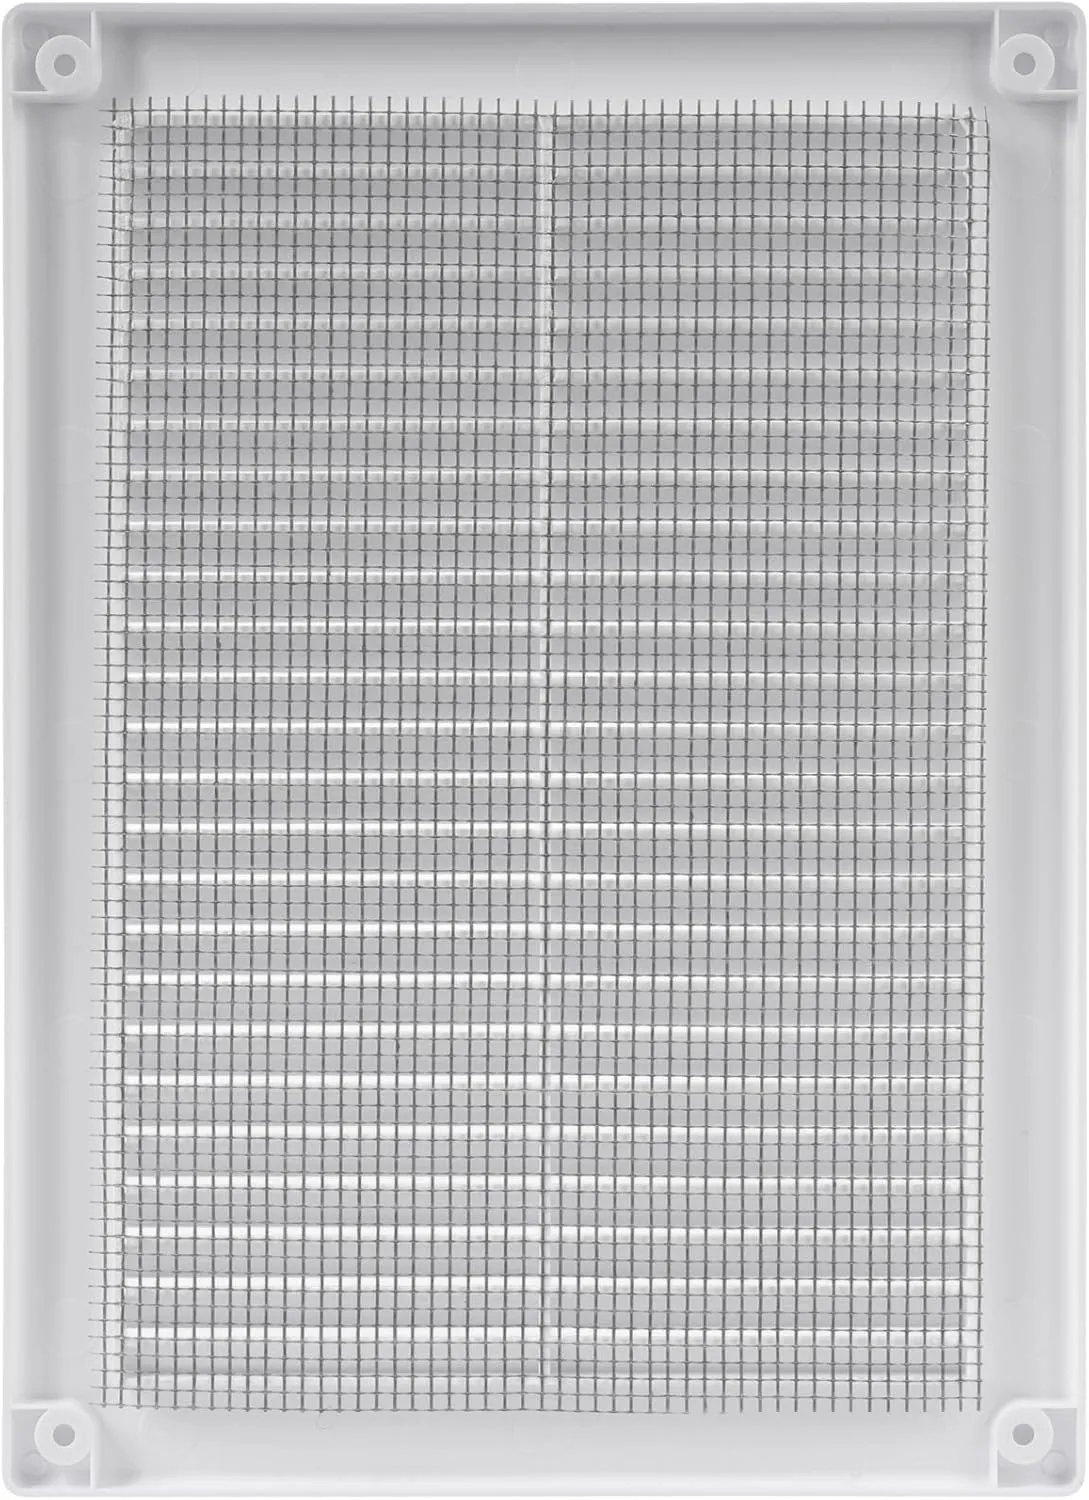
Once the cabinet was assembled, I still needed to deal with airflow. My plan was to cut ventilation holes and fit plastic grilles and fans. I also bought some plain perforated plastic mesh as a backup in case the vents didn’t work out.
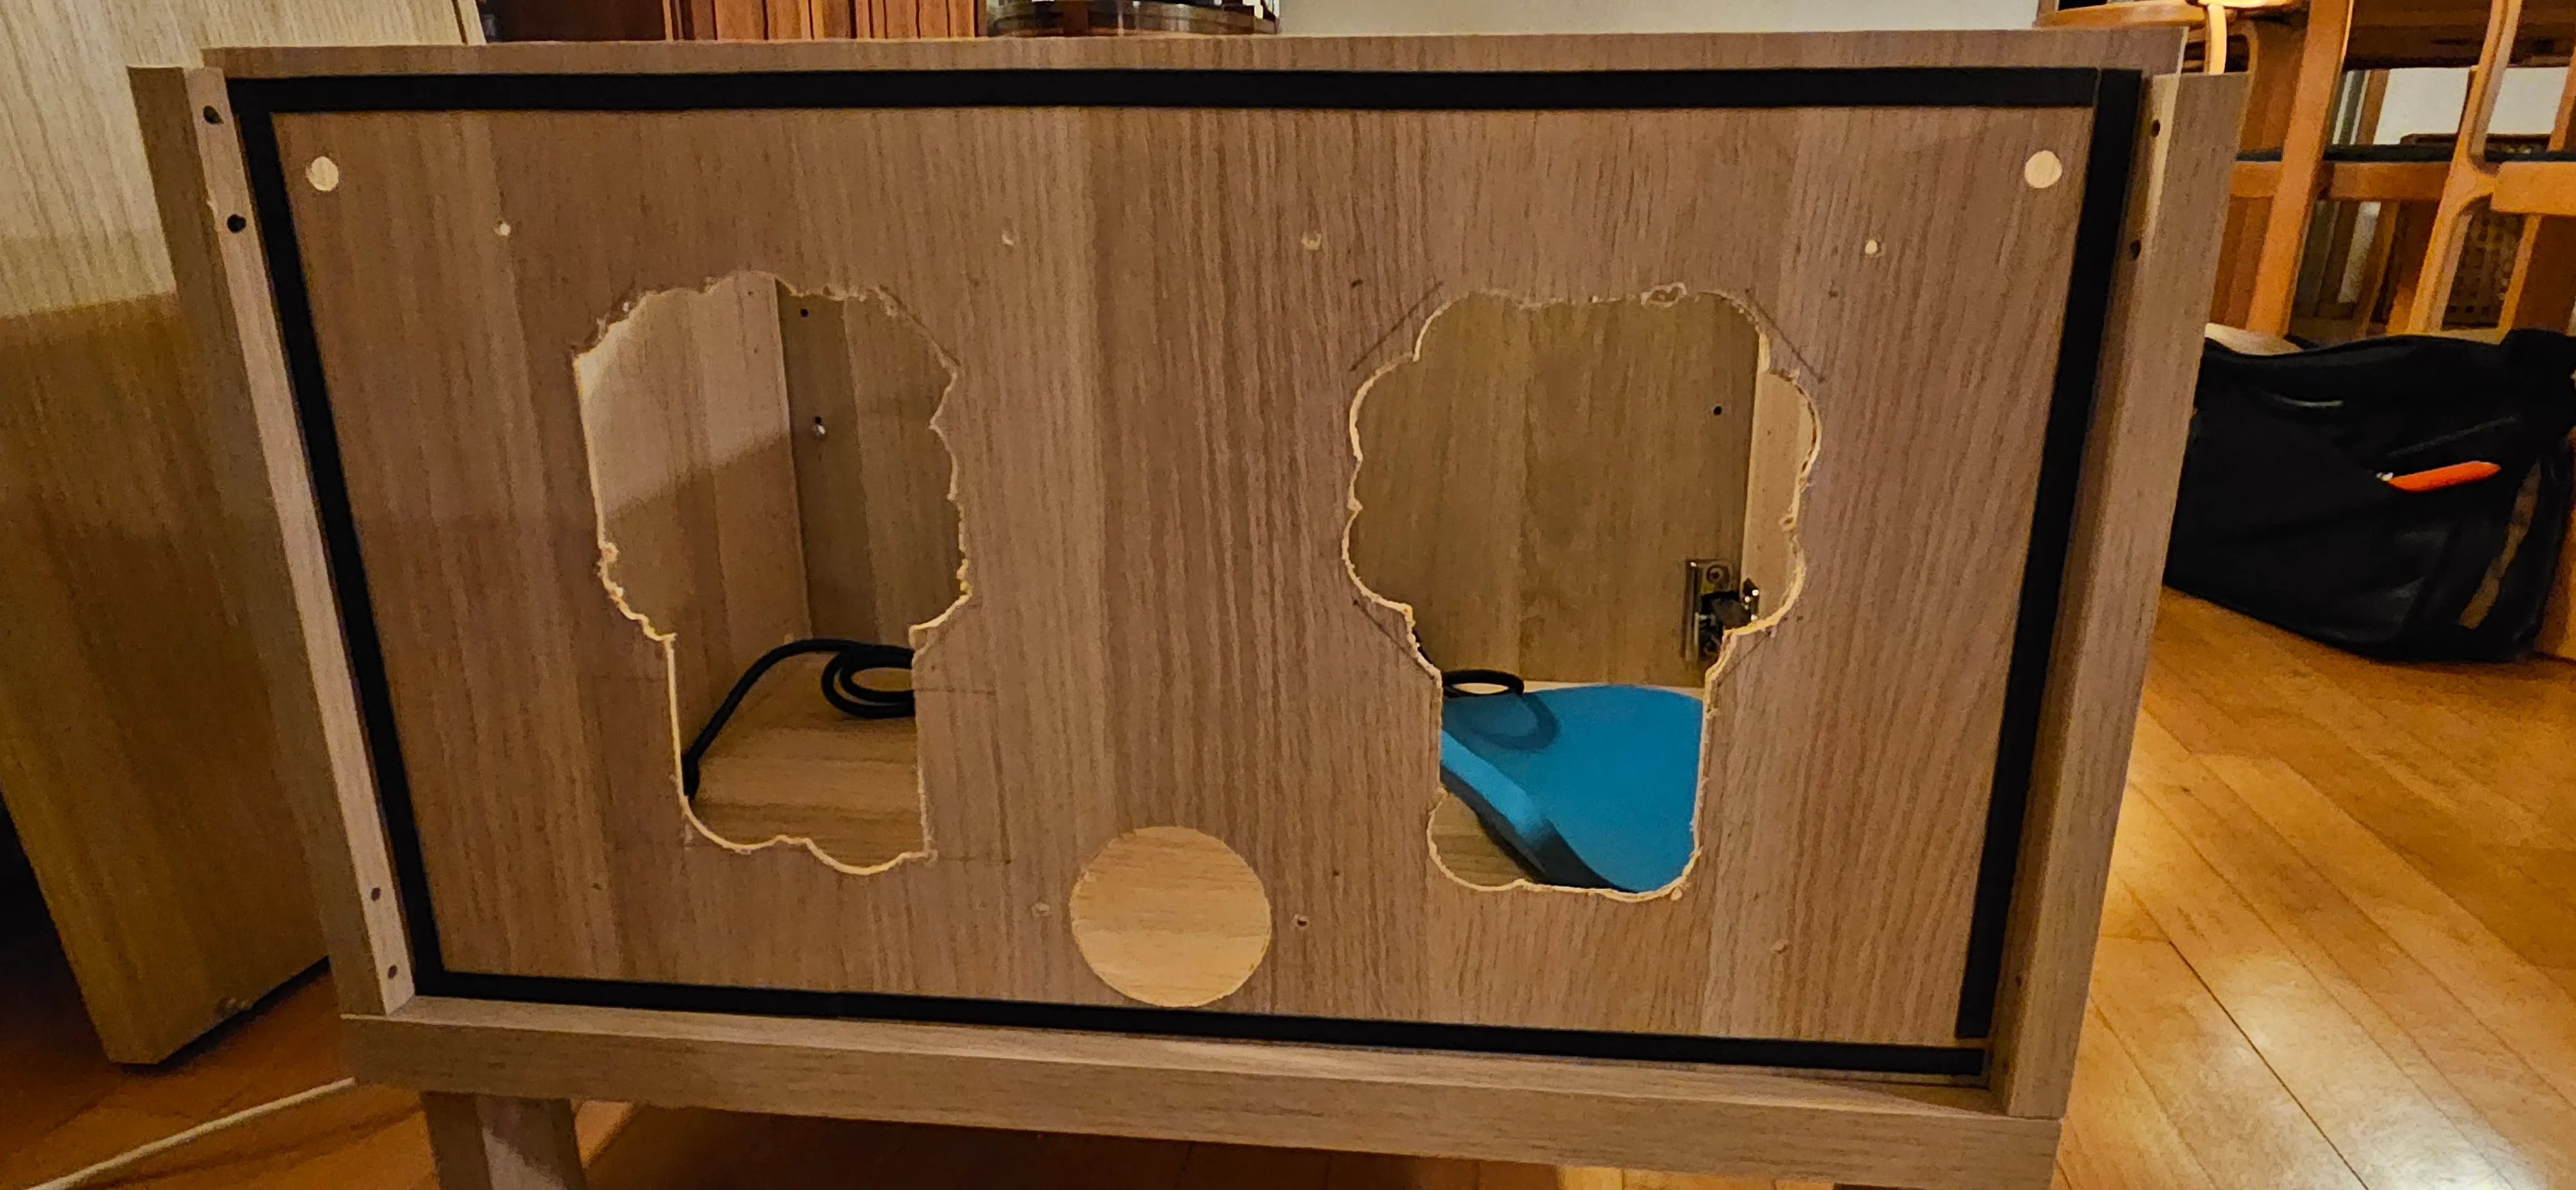
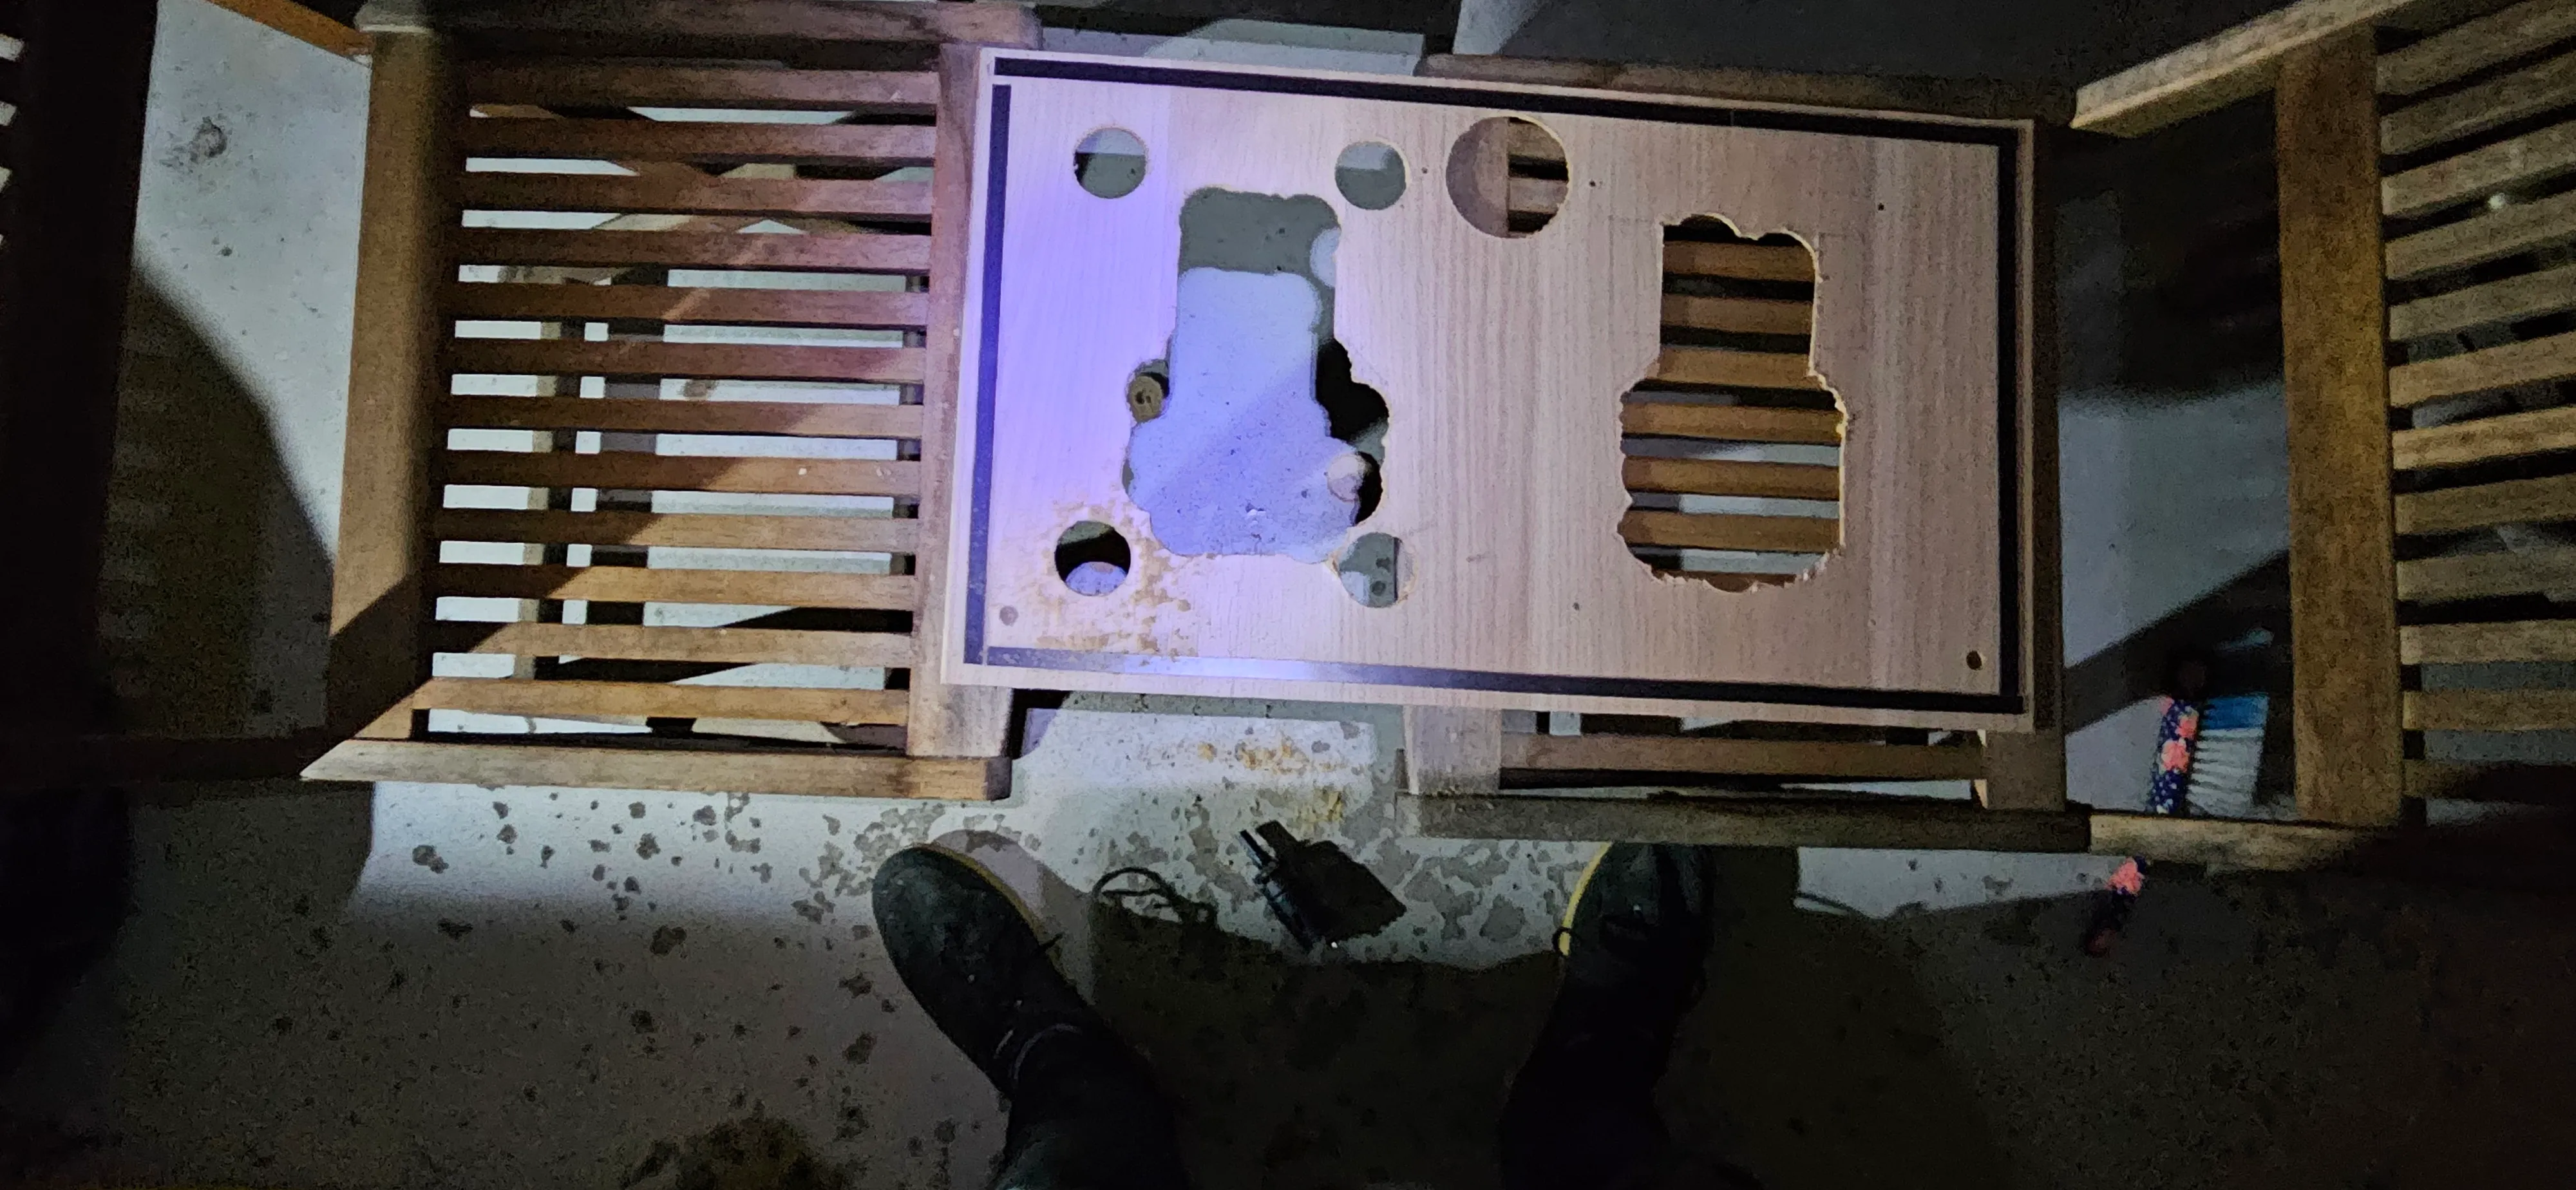
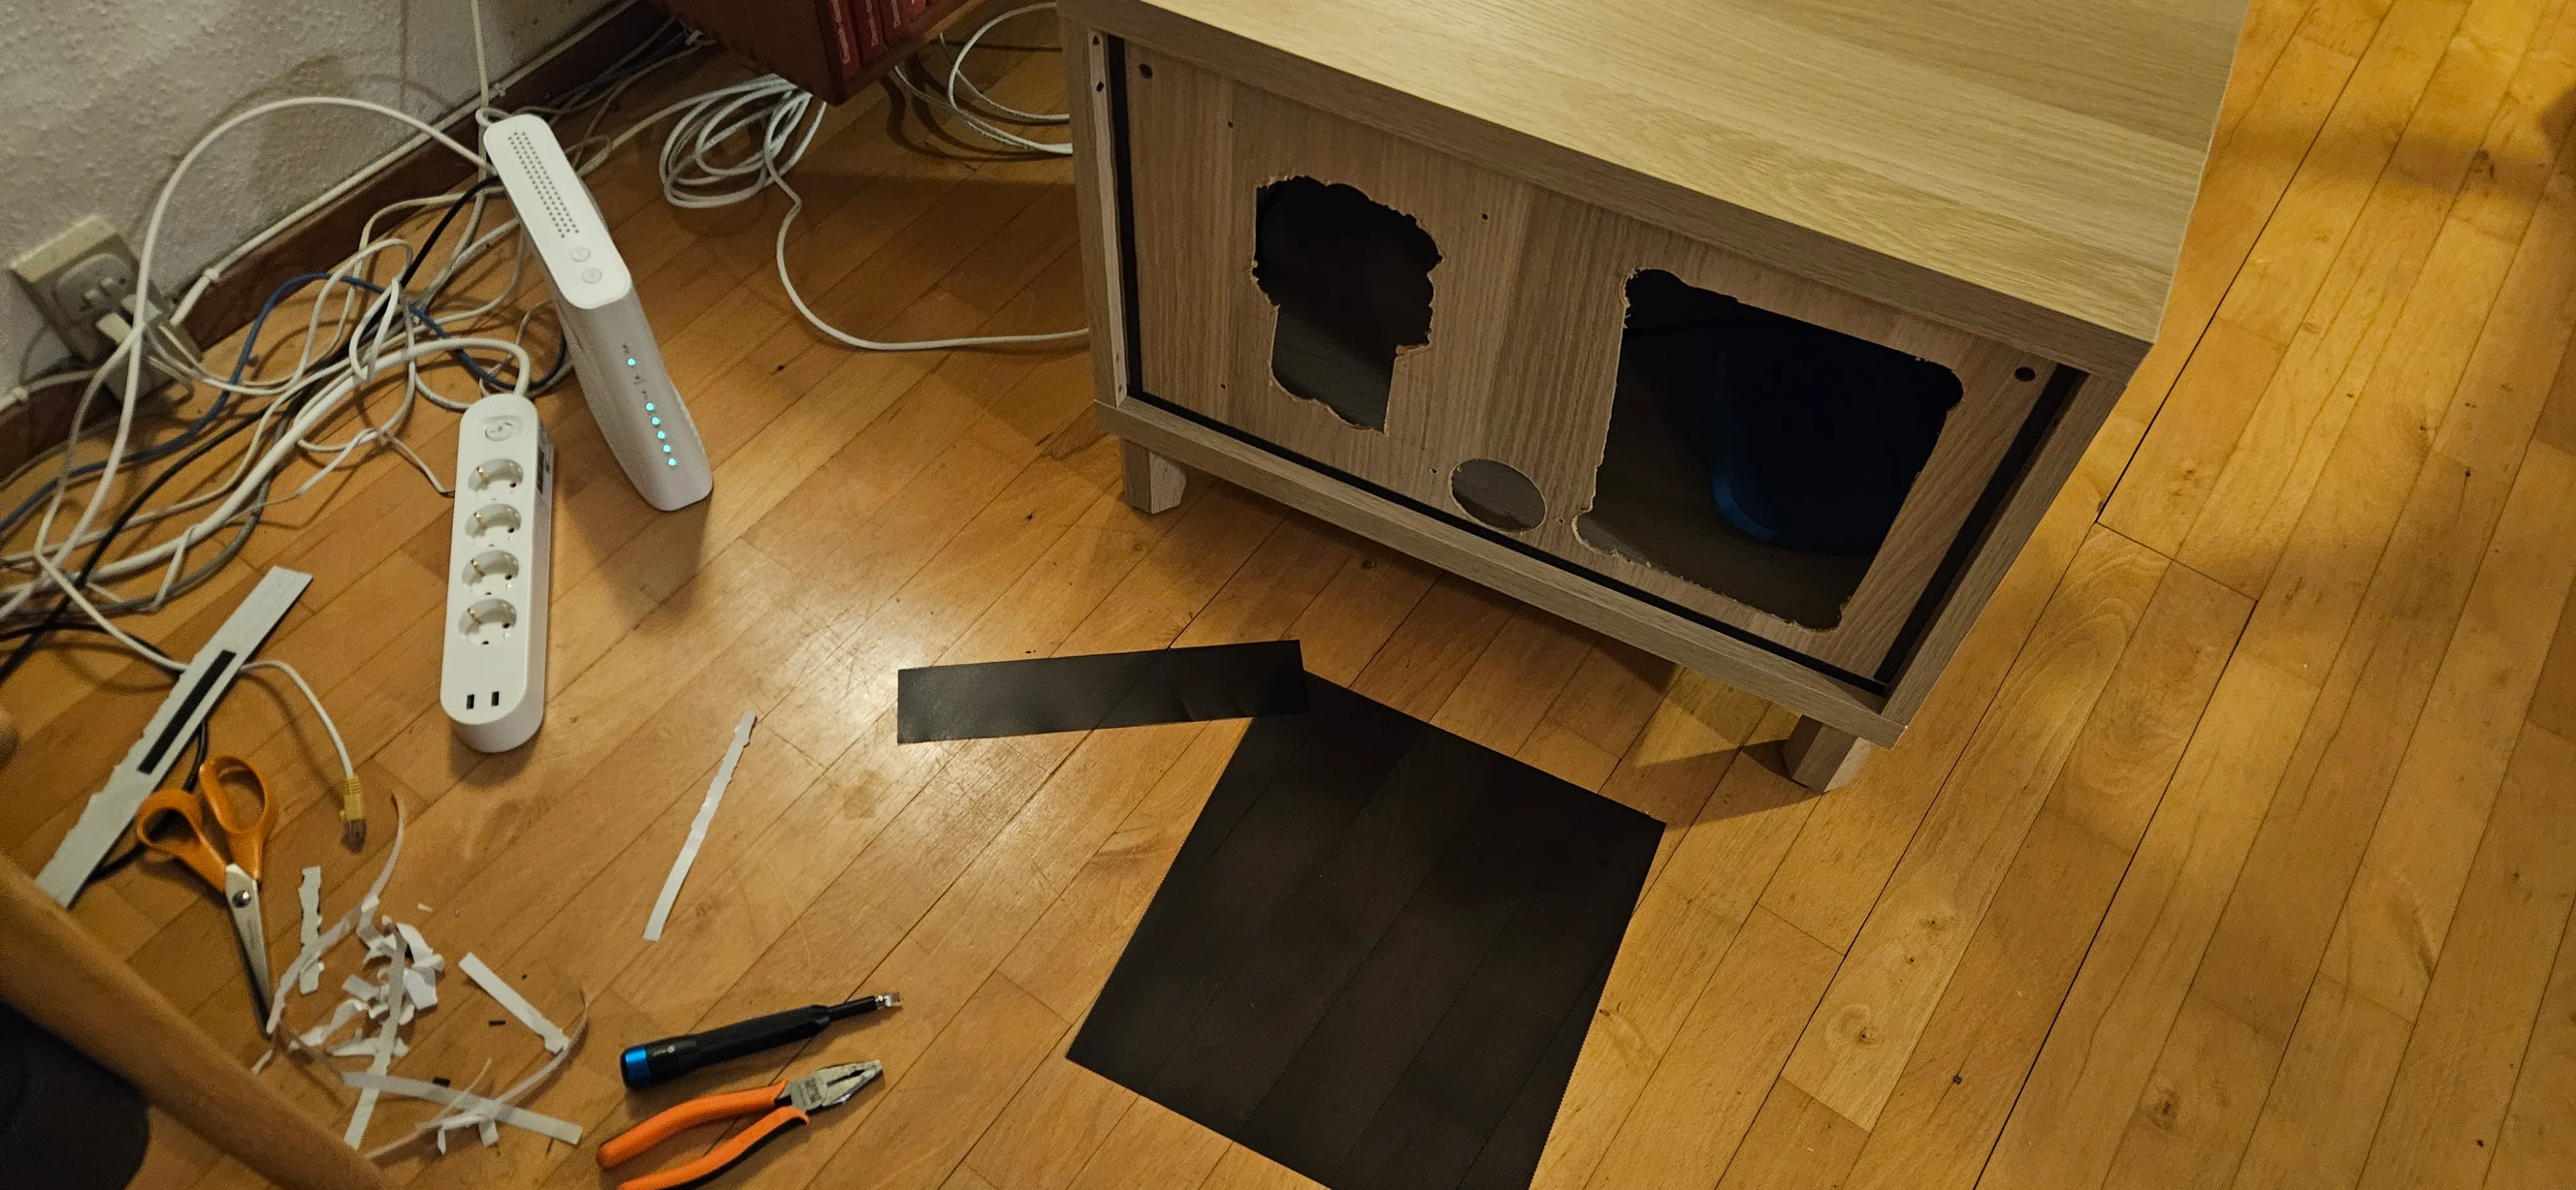
I bought drill accessories for making large starter holes, cutting cable openings, and generally persuading the backboard to become the shape I needed. This led to an evening of drilling and sawing on the balcony, at about eight o’clock, in autumn. Exactly the relaxing home-server experience I’d imagined.
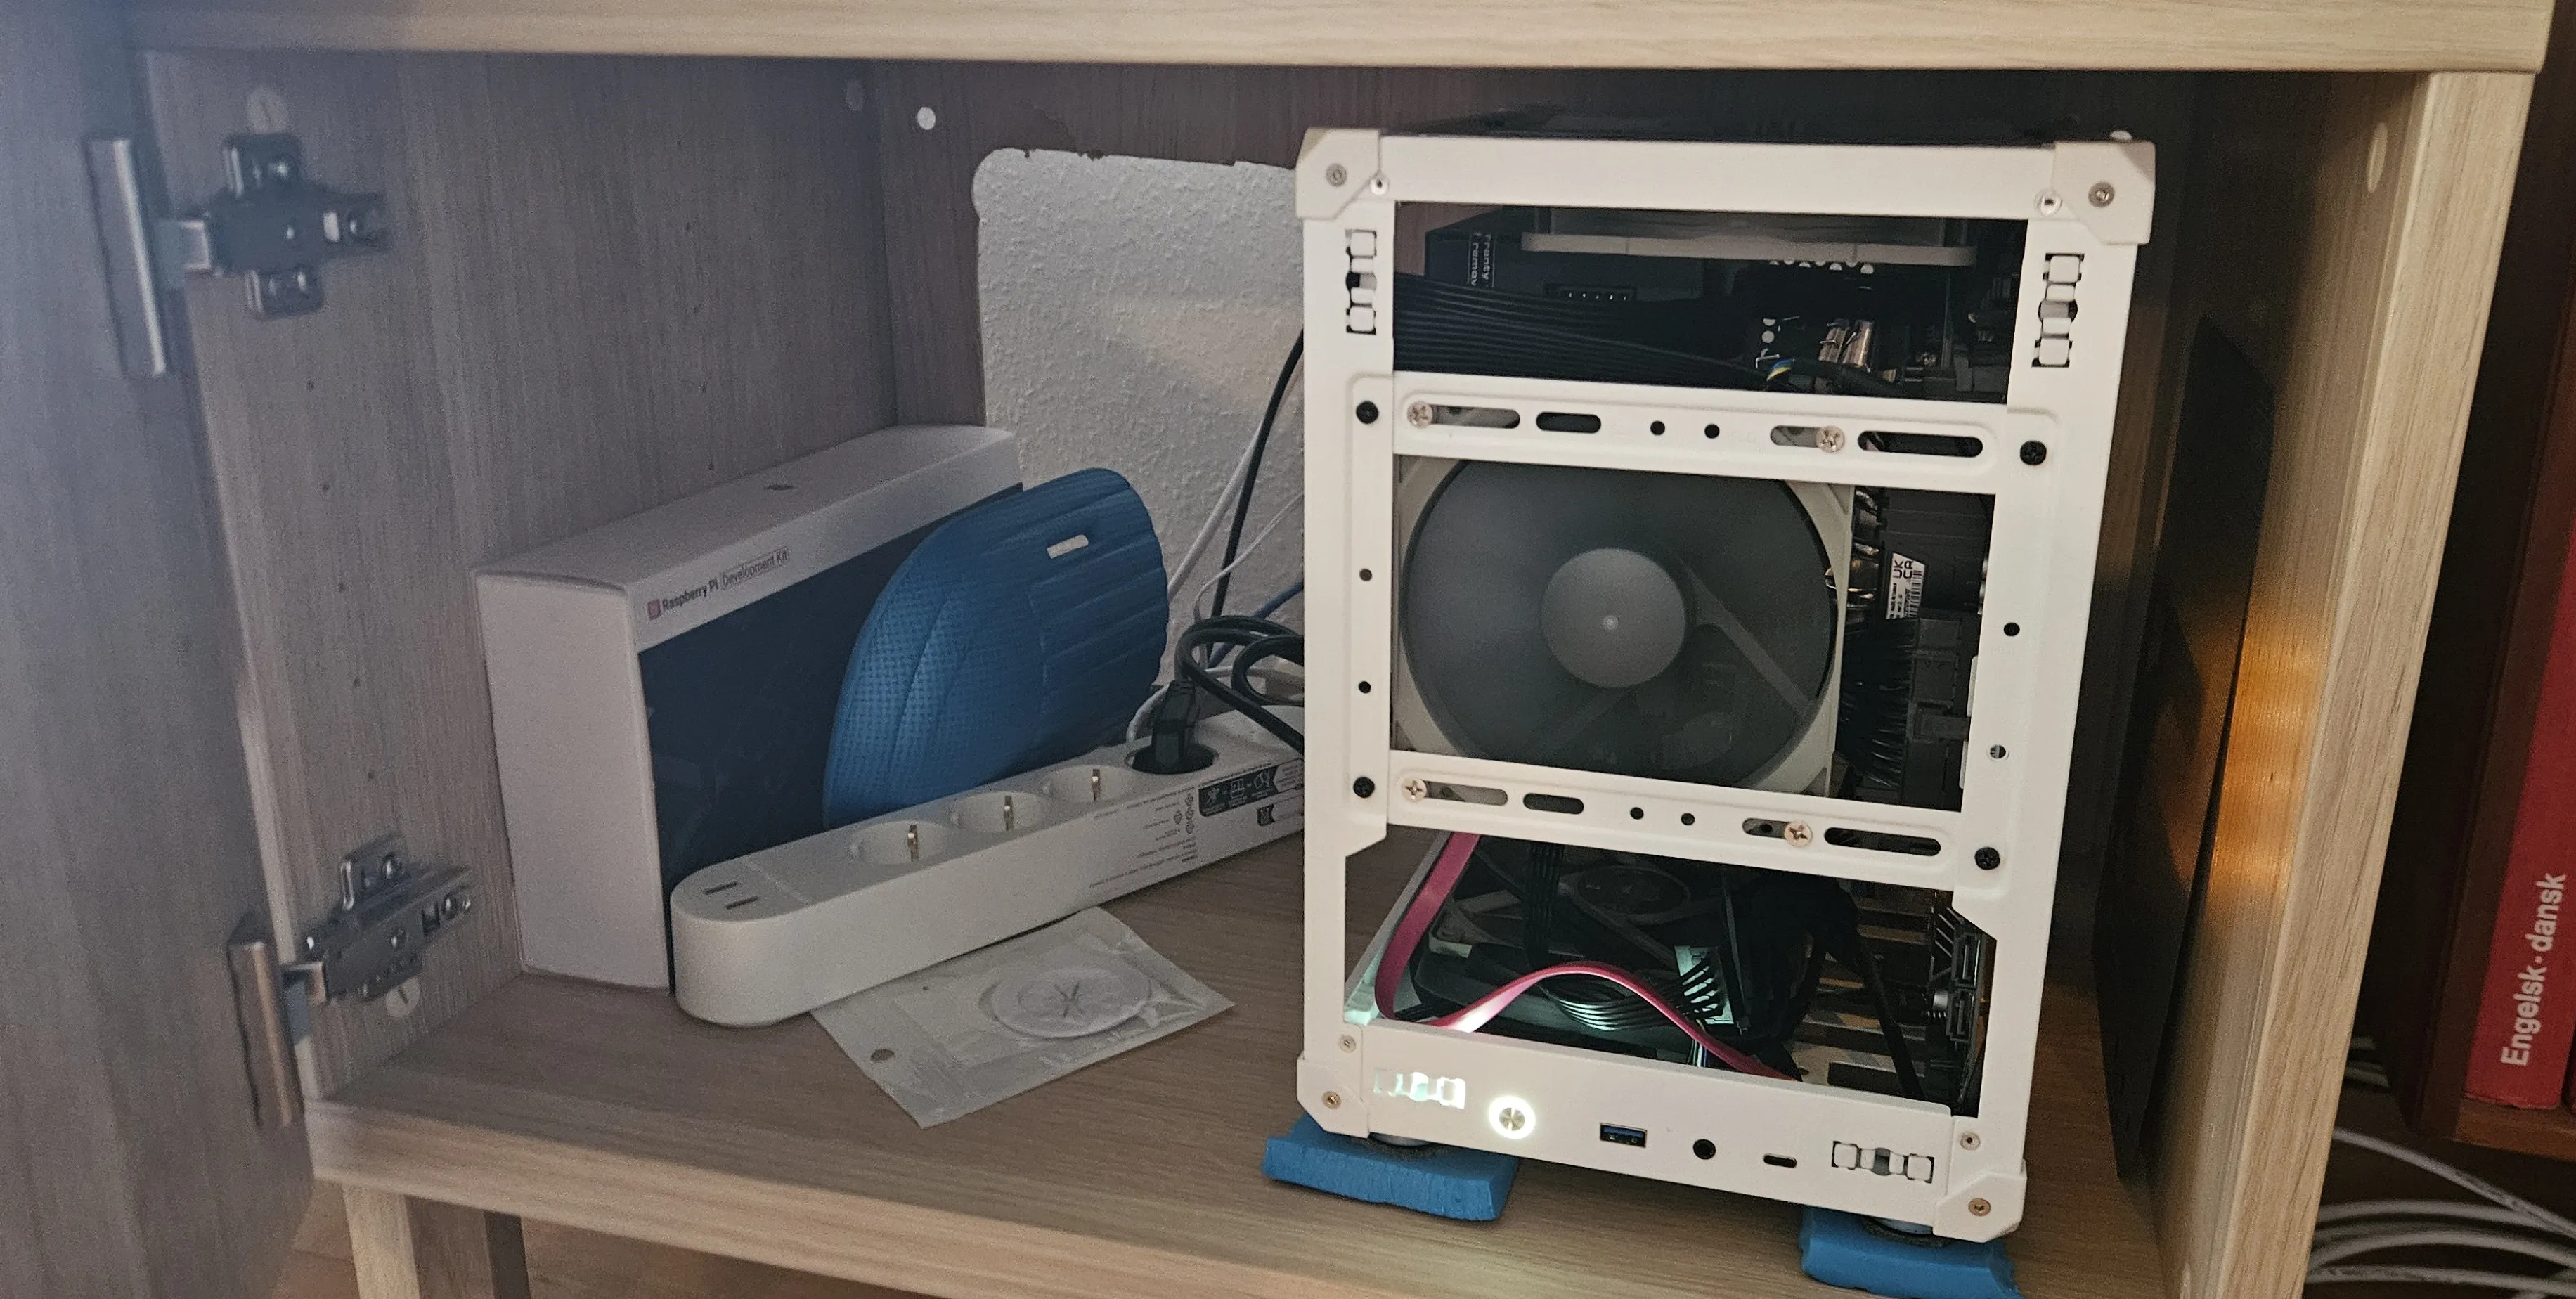
After all that effort, the final arrangement was much simpler than the original plan: two large openings in the back of the cabinet, better fan settings, and the replacement CPU cooler. I also removed the PC case panels and left the case open inside the cabinet.
The elaborate grille plan mostly became a lesson in doing too much before finding out what actually helped.
One last problem: vibrations
Even after the fan noise was under control, there were vibrations. I hadn’t really accounted for those.
Luckily, I’d bought some cheap foam gardening knee pads on a whim and never used them. With a knife and a little improvisation, they became vibration-damping pads for the server instead.
Finally, I had something I was happy to keep in the living room.
Conclusion
A year of ignoring the problem turned into a few stubborn evenings of sawing, fan tuning, and working through operating-system problems. Now there’s a machine in the living room that I can actually use, at a noise level I can live with.
A few things I’ll take into the next project:
- The enclosure matters. A case can fit all the components and still be awkward to build in and difficult to quieten down.
- Find out what helps before buying more parts. The CPU cooler and fan settings were useful changes. Buying different case fans without properly checking what I already owned was less useful.
- Simple can be enough. My carefully planned cabinet vents ended up becoming two big openings in the back.
- Getting it working feels good. I still have ideas about storage, NAS features, and improvements. Those can come later. Having a server I actually use is a much better starting point than a perfect plan gathering dust.
The software side deserves its own post. This one is about finally getting the box off the to-do list.